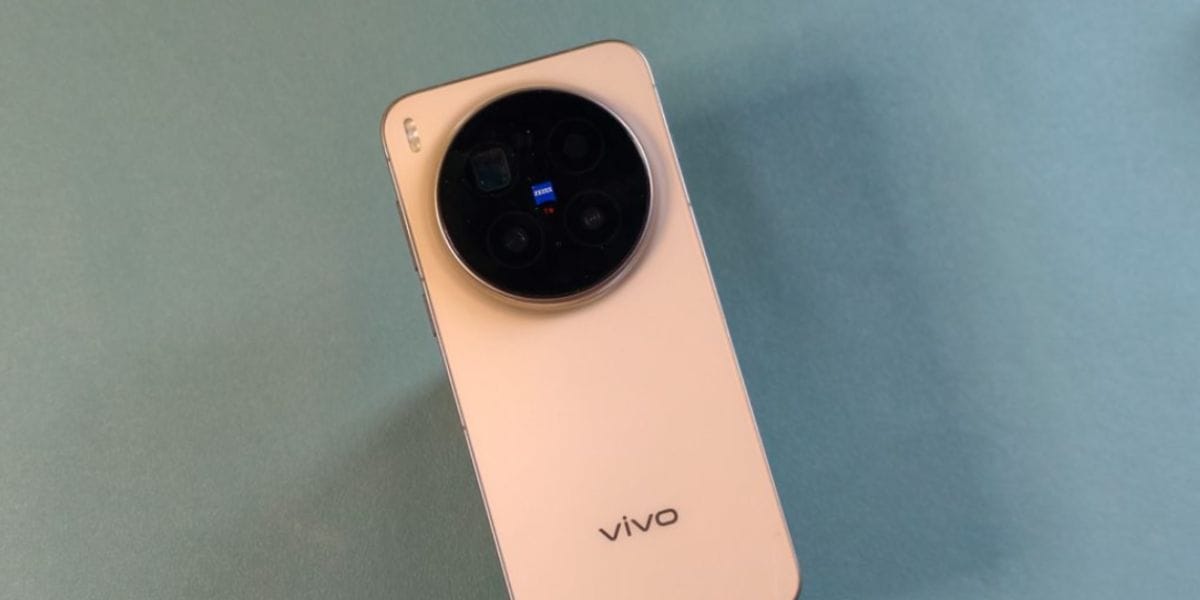
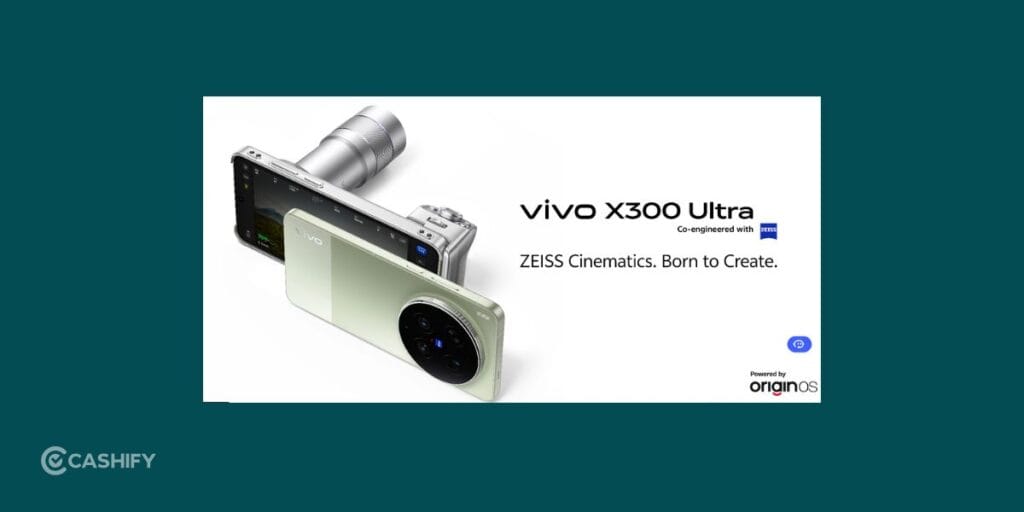
The Vivo X300 Ultra is designed for users who want a powerful camera system in their pocket. With a high-resolution triple camera setup, advanced sensors, strong stabilization, and multiple shooting modes, it gives you the flexibility to shoot everything from casual selfies to professional-level videos. However, you need to tweak some of the Vivo X300 Ultra camera settings to get the best photos.
And here’s the real truth- even the best camera phone won’t give great results unless you know how to use its settings properly. This blog helps you understand every important camera feature and shows you how to set up your Vivo X300 Ultra for the best photography and videography experience.
Also Read: Android 17 Eligible Devices List In 2026: Is Your Phone Compatible?
Vivo X300 Ultra Camera Overview
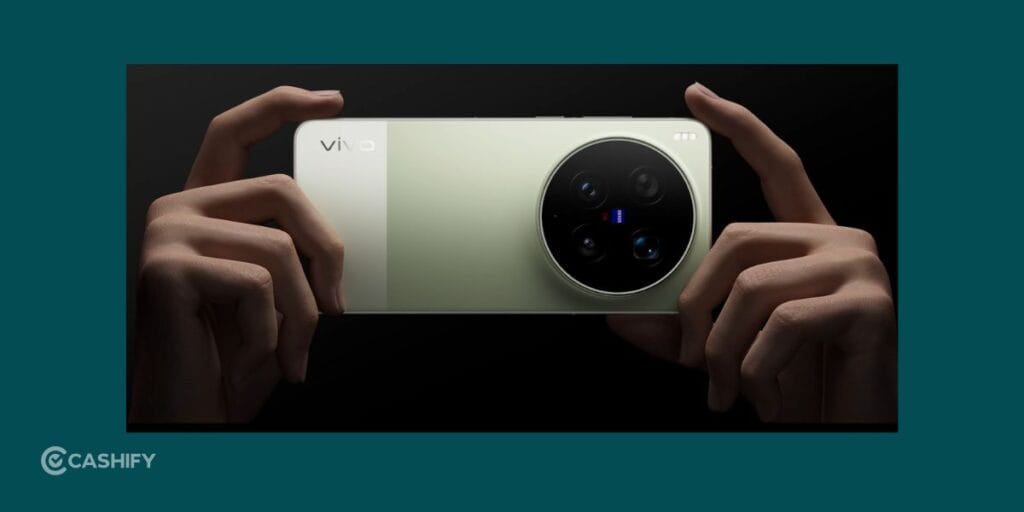
The Vivo X300 Ultra comes with a premium-grade camera system that focuses on detail, clarity, and versatility. Whether you are shooting landscapes, portraits, or low-light scenes, the camera hardware is built to handle it smoothly.
The phone combines:
- Ultra-high resolution sensors (200MP class cameras)
- Optical Image Stabilization (OIS)
- Advanced autofocus system
- Multiple focal lengths for different shooting styles
- Powerful AI-based image processing
This combination makes it suitable for beginners as well as advanced mobile photographers.
Vivo X300 Ultra Camera Specifications
Before we talk about the Vivo X300 Ultra camera settings, here is a clear breakdown of all camera hardware and features:
| Feature | Specification |
| Front Camera | 50MP AF |
| Rear Main Camera | 200MP AF (OIS) – LYTIA 901 Sensor, CIPA 6.5 |
| Ultra-Wide Camera | 50MP AF Wide Angle – LYT818 Sensor, CIPA 6.0 |
| Telephoto Camera | 200MP Telephoto (OIS) – CIPA 7.0 |
| Front Aperture | f/2.45 |
| Main Rear Aperture | f/1.85 |
| Ultra-Wide Aperture | f/2.0 |
| Telephoto Aperture | f/2.67 |
| Flash | Dual rear flash (single color temperature) |
| Fill Light | Rear fill light supported |
| Video Recording | 4K, 1080P |
| Video Format | MP4 |
| Voice Recording | Supported |
| Hi-Fi Audio | Not supported |
Camera Modes In Vivo X300 Ultra
This phone is packed with shooting modes that help you capture different types of photos easily. Here, have a look:
| Camera Mode | Description |
| Snapshot | Quickly captures fast-moving moments with optimized shutter response. |
| Portrait Video | Records videos with blurred background for a cinematic subject focus. |
| Landscape & Night | Enhances details in both bright outdoor scenes and low-light night shots. |
| Panorama | Combines wide scenes into a single high-width image. |
| Portrait | Creates a blurred background effect to highlight the subject. |
| Ultra HD | Captures high-resolution images with maximum detail clarity. |
| Photo & Video | Standard mode for everyday shooting of both photos and videos. |
| Document Scan | Improves clarity and sharpness for scanning text documents. |
| Slo-mo | Records slow-motion videos to highlight fast actions in detail. |
| Time-lapse | Compresses long events into fast-moving short videos. |
| Pro Mode | Gives full manual control over ISO, shutter speed, and focus. |
| Food Mode | Enhances colors and textures to make food look more appealing. |
| Street Photography | Optimized for quick candid shots in urban environments. |
| Underwater Photography | Adjusts settings for clearer photos and videos underwater. |
| Stage Mode | Enhances lighting and focus for stage or performance shots. |
| Spatial Camera | Captures depth-based images for immersive 3D-like visuals. |
Each mode is optimized for a specific situation, so choosing the right one is important.
Also Read: iOS 26.5 Release Date And Supported Devices: Is Your iPhone Getting The Update?
Best Vivo X300 Ultra Camera Settings (Full Guide)
Using auto mode works fine, but adjusting a few Vivo X300 Ultra camera settings can drastically improve your results. Below are the most important settings you should actually use in daily photography.
1. Use HDR For Balanced And Natural Photos
This is one of the best Vivo X300 Ultra camera settings. HDR (High Dynamic Range) is one of the most important settings in smartphone photography. It improves image quality by combining multiple exposures into a single balanced photo.
In simple terms, HDR helps your camera manage bright skies and dark shadows in the same image.
When you should turn HDR ON:
- Outdoor photography in bright sunlight
- Sunset and sunrise shots
- Backlit portraits (subject in front of bright background)
- Landscape photography
- Cityscape photos with mixed lighting
What HDR improves:
- Prevents overexposed skies
- Brings back shadow details
- Makes colors more natural
- Improves dynamic range in complex lighting
When to avoid HDR:
- Fast-moving subjects (it may cause slight delay)
- Low-light scenes where Night Mode is better
HDR is your “fix exposure instantly” tool- use it wisely.
2. Enable Grid Lines For Better Composition
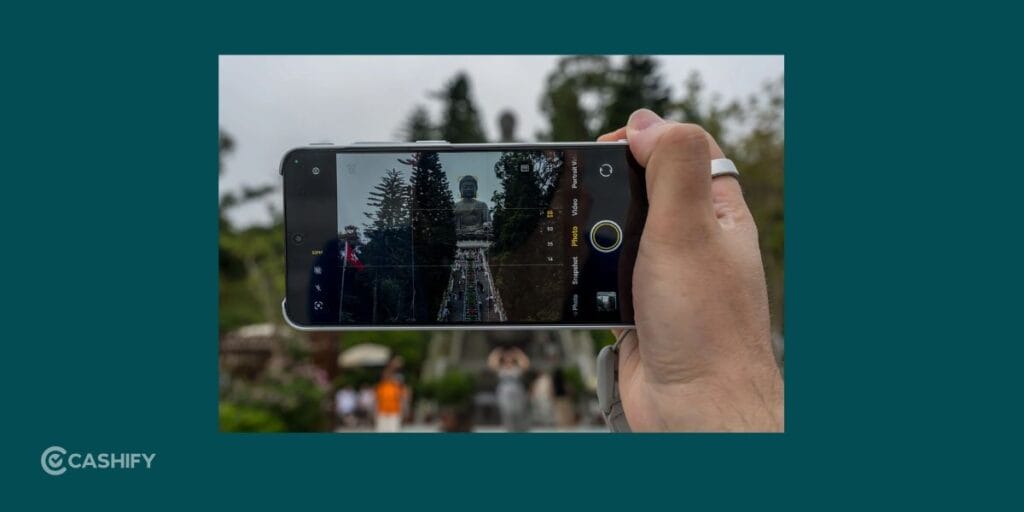
Grid lines divide your camera screen into 9 equal parts. This helps you follow the rule of thirds- a basic photography technique used by professionals.
Why you should use grid lines:
- Helps center subjects properly
- Keeps horizons straight in landscapes
- Improves framing and balance
- Makes photos look more professional
- Helps beginners learn composition naturally
Best use cases:
- Travel photography
- Architecture shots
- Portrait framing
- Street photography
Over time, you’ll naturally start composing better shots even without the grid.
3. Use Portrait Mode For DSLR-Like Shots

Portrait mode is one of the most powerful features of the Vivo X300 Ultra. It creates a blurred background (bokeh effect) while keeping the subject sharp, making it one of the best Vivo X300 Ultra camera settings.
Best situations for Portrait Mode:
- Selfies and portraits
- Couple photos
- Product photography
- Social media posts
- Street subject photography
Tips for better portraits:
- Keep a proper distance (don’t stand too close)
- Use natural light whenever possible
- Avoid messy or distracting backgrounds
- Use telephoto lens for more natural face proportions
- Ask the subject to stay still
Why it works well:
- Creates depth in photos
- Focuses attention on subject
- Produces cinematic background blur
- Makes photos look DSLR-like
Portrait mode is a must-use feature if you love Instagram photography.
Also Read: iOS 26.5 New Features: Everything You Need To Know Before Updating Your iPhone
4. Use Night Mode For Low-Light Photography

The Vivo X300 Ultra performs well in low light thanks to its large sensors and OIS support, but Night Mode makes it even better.
Night Mode captures multiple frames and combines them to create a brighter and clearer image.
When to use Night Mode:
- Night street photography
- City lights and buildings
- Indoor dim lighting
- Night travel shots
- Sunset transitioning to night
Tips for best results:
- Hold the phone steady
- Avoid sudden movement
- Use a tripod if possible
- Wait for processing to complete
- Use nearby light sources for better clarity
What Night Mode improves:
- Brighter images in darkness
- Reduced noise/grain
- Better shadow detail
- Improved color accuracy
Night Mode can turn dark scenes into visually rich photos when used correctly.
5. Switch To Pro Mode for Full Manual Control

The next best Vivo X300 Ultra camera settings that you can adjust is the Pro Mode. Pro Mode gives you complete control over your camera settings. Instead of automatic processing, you can manually adjust everything.
Key Pro Mode settings:
- ISO: Controls light sensitivity
- Shutter Speed: Controls exposure time
- White Balance: Adjusts color tone
- Focus: Manual sharpness control
- Exposure: Controls overall brightness
When to use Pro Mode:
- Night photography with creative effects
- Long exposure shots (light trails, water flow)
- Product photography
- Professional-style images
- Artistic experiments
Why Pro Mode is powerful:
- Full creative control
- Better understanding of photography
- Unique customized results
- DSLR-like experience on mobile
If you want to improve your photography skills, Pro Mode is where real learning begins.
6. Use Ultra-Wide For Landscapes

The 50MP ultra-wide camera is perfect for capturing large scenes.
Best uses:
- Mountains and nature shots
- Architecture photography
- Group photos
- Wide travel scenes
Tips:
- Keep horizon straight
- Avoid edges distortion by not getting too close
- Use HDR for better dynamic range
Also Read: Vivo X300 Ultra Vs Samsung Galaxy S26 Ultra: Which Is Better?
7. Use Telephoto For Zoom Shots

The 200MP telephoto lens is ideal for capturing distant subjects without losing detail.
Best uses:
- Wildlife photography
- Sports events
- Portrait compression effect
- Distant objects
Tips:
- Use stable hands or tripod
- Avoid extreme digital zoom
- Use good lighting conditions
Best Selfie Settings
The 50MP front camera is designed for sharp and detailed selfies.
- Keep beauty mode low
- Use portrait selfie mode
- Tap to focus on face
- Use natural daylight
- Avoid harsh artificial lighting
This helps keep selfies natural and clear.
Best Video Settings
The Vivo X300 Ultra supports both 4K and 1080P recording.
Use 4K when:
- Creating YouTube content
- Shooting cinematic videos
- Recording travel footage
Use 1080P when:
- Uploading to social media
- Saving storage space
- Recording long videos
Tips for stable videos:
- Use both hands
- Enable stabilization
- Walk slowly while recording
- Record in good lighting
Final Tips For Better Photography
Even with a powerful camera, small habits make a big difference:
- Always clean your lens
- Avoid excessive zoom
- Use natural lighting whenever possible
- Tap to focus before shooting
- Choose the right mode for each situation
- Keep hands steady while capturing
Final Thoughts
The Vivo X300 Ultra is a powerful camera phone that can deliver excellent results in almost every condition. But the real magic happens when you understand its settings and use them correctly.
Once you start using HDR, Night Mode, Portrait Mode, and Pro Mode effectively, your photography will instantly feel more professional and polished.
You don’t need expensive cameras to take great photos- you just need the right Vivo X300 Ultra camera settings and a little practice.
Also Read: Motorola Razr 70 Ultra Vs Samsung Galaxy Flip7: Best Flip Phone 2026?
Frequently Asked Questions
How can I improve my Vivo camera quality?
To improve Vivo camera quality, keep the lens clean, use natural light, enable HDR, and stabilize your hands while shooting. Choose the right mode like Portrait or Night Mode, avoid heavy digital zoom, and adjust focus manually for sharper and more detailed photos.
Does the Vivo X300 Ultra have cinematic mode?
The Vivo X300 Ultra does not label a separate “cinematic mode,” but it offers Portrait Video, Pro Mode, and stabilization features that create a cinematic look. These modes help achieve background blur, smooth motion, and professional video effects similar to cinematic recording.
How do I set my perfect camera settings?
For perfect Vivo X300 Ultra camera settings, enable HDR for balance, use Portrait Mode for subjects, Night Mode in low light, and Pro Mode for manual control. Set resolution to high when needed, keep grid lines on for composition, and adjust focus and exposure based on lighting conditions.
What is the camera feature of Vivo X300 Ultra?
The Vivo X300 Ultra features a 200MP main camera, 200MP telephoto, and 50MP ultra-wide lens with OIS support. It includes HDR, Night Mode, Portrait modes, Pro controls, 4K video recording, AI scene optimization, and advanced stabilization for high-quality photography and videography.
If you’ve just bought a new phone and don’t know what to do with your old phone, then here’s your answer. Sell old mobile to Cashify and get the best price for it. If you are planning to buy a new phone, check out Cashify’s refurbished mobile phones. You can get your favourite phone at almost half price with six-month warranty, 15 days refund and free delivery.