Vivo has launched the Vivo X300 Pro in China this October 2025. It has one of the best camera phones available. You get Zeiss lenses, Dimensity 9500, and two special image chips called V3+ and VSI. This significantly improves photo and video quality, specially if you are pro at Vivo X300 Pro camera settings.
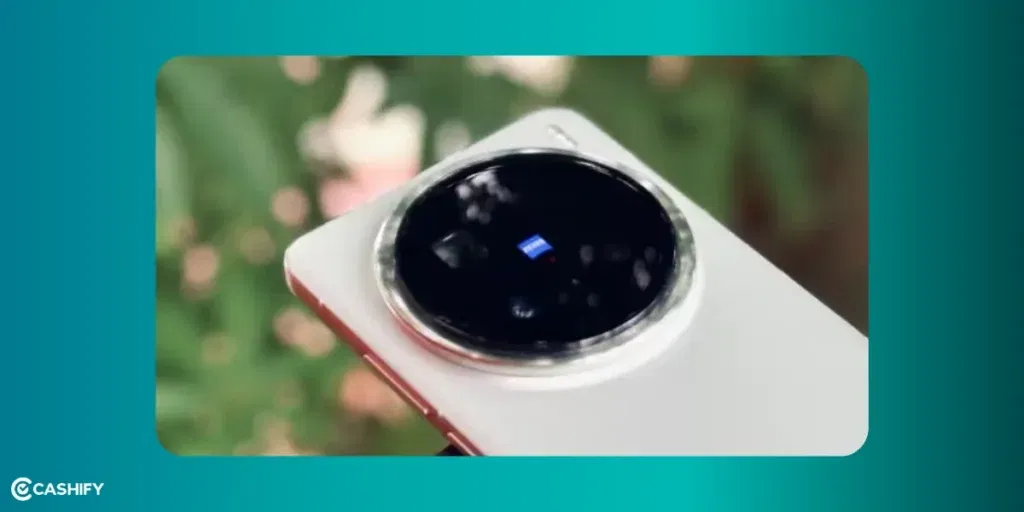
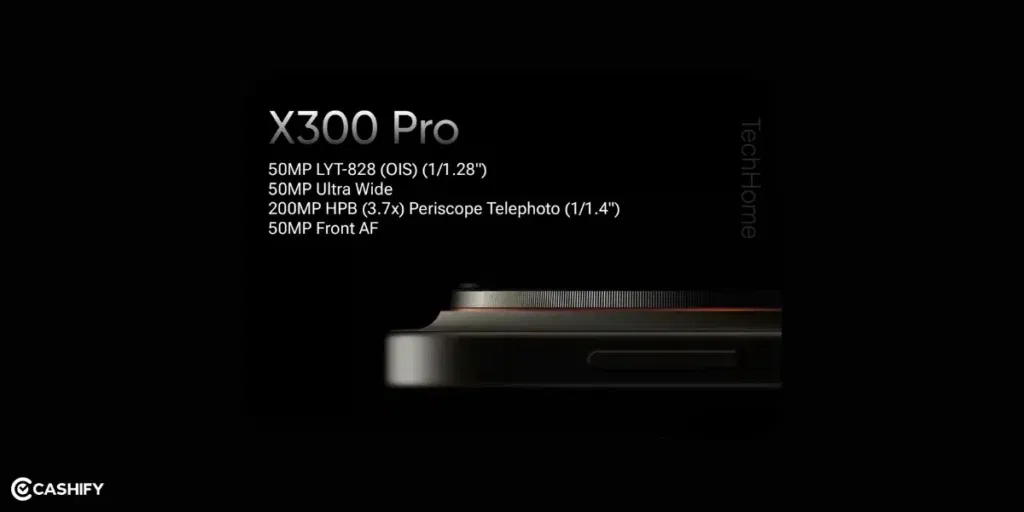
It has a triple rear camera setup. There is a 50MP Sony main camera with gimbal OIS, a 50MP ultra-wide camera, and a 200MP periscope zoom camera. This periscope can zoom up to 3.7x with amazing detail. There’s also a 50MP front camera with autofocus for clear selfies.
But, in order to take next-level photos, you also need to use the right settings. It has many camera modes and features as well and you should know about them to optimise the camera. Let’s check out all the simple tips and tricks to make the camera better. Let’s get started:
Also Read: Realme 15 Pro Vs Moto Edge 60 Pro: Design, Specs, Performance, More!
Let’s Set Up The Camera First!
Before you start clicking amazing pictures with your Vivo X300 Pro, it’s important to set up the camera app. Just follow these steps:
Open the Camera app and tap the gear icon in the corner to open Settings. Here, you have to:
- Turn On Pro Mode: With the help of this, you can manually adjust things like ISO, Shutter speed, focus, and more. It is useful for creative photography and night shots.
- Use Grid and Level: Turn on the 3×3 grid to frame your photos by using the rule of thirds.
- Level Tool: Make sure to turn on Level Tool to keep your photos straight. It is perfect for building and landscape.
- RAW + JPEG: In Pro Mode, always choose to save in RAW + JPEG. If you like editing your photos later, it’s going to give you more control.
- HDR Settings: Make sure you set the HDR to Auto to ensure photos look good in bright and dark lights.
- AI Scene Detection: You can also turn on AI scene Detection under photo enhancement for more natural-looking photos.
Normally, the photos are saves as 12.5MP to save space. But if you want more details for later, you can switch to 200MP.
You can also set the power button to open the camera fast. It is useful if you like taking photos on the go.
Also Read: Xiaomi 17 Pro vs iPhone 17 Pro: Specs, Design, All Details!
Best Vivo X300 Pro Camera Settings For Main Camera
The 50MP main camera has a special sensor (LYT-828) and gimbal OIS. You get super sharp and stable photos even if your hands shake a little. Let’s check out the best settings for this:
| What to Do | How to Do It |
|---|---|
| Take normal photos | Use Photo mode > Tap Style > Select Natural for real and balanced colours |
| Take low-light photos | Use Night Mode for better night shots or use Pro Mode: – Set ISO: 100–400 – Set Shutter: 1/60s or slower – Use a tripod – Turn on Native Lighting for a natural, film-like look |
| Take better portraits | Tap 2x zoom. It uses in-sensor crop for sharper, clearer portraits |
Best Vivo X300 Pro Camera Settings For Ultrawide Camera
The 50MP JN1 ultrawide (119° field of view) is a step up from previous variants. It comes with amazing low-light photos thanks to VCS chip. Let’s check out some camera settings:
| What to Do | How to Do It |
|---|---|
| Use full 50MP quality | In Photo mode, turn on Ultra HD to capture in full resolution. This is good for wide scenes or panoramas |
| Get vibrant outdoor colors | Set White Balance to Cloudy (+500K). This helps bring out bright blues in the sky |
| Fix edge distortion | Turn on Auto Distortion Correction in settings |
| Try creative wide shots | In Pro mode, turn off distortion correction and set focal length to 16mm for fisheye-style photos |
| Take macro photos | Tap the flower icon to enter Macro mode. It works as close as 4cm |
| Light up macro shots | Use the LED flash at 50% brightness. This will fill in shadows without making it too bright |
| Shoot stars at night | In Pro mode, set ISO 800 and 30-second exposure |
Also Read: iQOO 15: Specs, Price and Release Date in India, All Details!
Best Vivo X300 Pro Camera Settings For Telephoto Lens
The 200MP telephoto gives sharp 85mm-equivalent portraits and can focus as close as 10cm. Let’s check out how you can use the Telephoto to take next level photos:
| What to Do | How to Do It |
|---|---|
| Take sharp portraits | Use Portrait mode > Choose Zeiss Cinematic Bokeh or Biotar Style Set blur slider to 20–50% for a natural background blur |
| Use zoom correctly | Use Tele mode (3.7x to 10x) |
| Zoom beyond 10x | Turn on Stage Mode (new feature). It improves quality for fast-moving subjects up to 100x zoom |
| Avoid color fringing | The Zeiss APO lens helps reduce coloyr errors in zoom shots. There is no extra setting needed |
| Use macro zoom | Select Tele Macro mode to focus on small details (like flowers) |
| Focus better in macro | In Pro mode, turn on Focus Peaking (shows red outlines when sharp) |
Zoom Modes & Settings
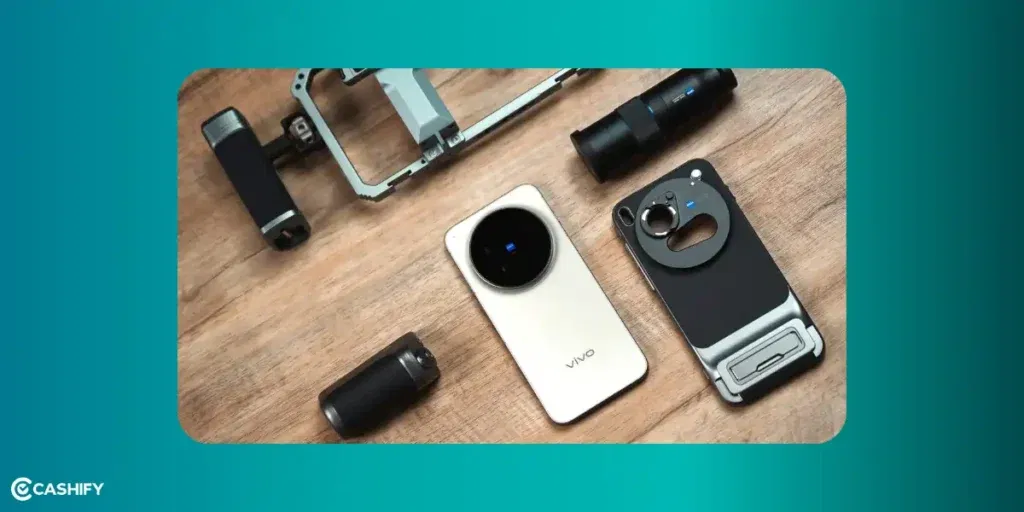
You can attach the Zeiss 2.35x Teleconverter using the Photography Kit. This will give you true 200mm optical zoom. It is best for bird photography, airshows, and events. If you use digital boost, you can reach up to 728mm equivalent zoom.
| Zoom Level | Best Mode | Key Setting | Best For |
|---|---|---|---|
| 1x – 2x | Main Photo | Auto HDR | Everyday photos |
| 3.7x | Tele | Zeiss APO Bokeh | Portraits with sharp detail |
| 10x+ | Stage Mode | AI Subject Tracking | Wildlife, sports, moving subjects |
| 20x+ | Pro Mode | ISO 200, Shutter 1/500s | Long-range steady shots |
Best Vivo X300 Pro Camera Settings For Portrait And Selfie
The camera uses Zero-Additive processing. This way, your skin looks real, not overly smooth or fake. Let’s check out the settings:
| Category | Details |
|---|---|
| Take clear selfies | Use the 50MP front camera (LYT-602) with autofocus (as close as 20cm) |
| Look natural in selfies | In Portrait mode, choose Natural Skin tone Set zoom to 1.4x for a slight slimming effect |
| Video call tip | Turn on Mirror Reflection in settings so your video shows like a mirror |
| Group selfies | Use ultrawide lens at arm’s length Afterward, apply AI Beauty at 30% for balanced lighting |
| Brighten faces (backlight) | In Pro mode, set Exposure (EV) to +0.3 to make faces brighter in strong backlight |
Best Vivo X300 Pro Camera Settings For Portrait And Selfie
Both Low-light and Pro photography are equally important. Let’s check out some interesting Vivo X300 Pro camera settings for Portraits and Selfies:
| Category | Details |
|---|---|
| Shoot in low light | Use Night Mode (auto) for bright shots In Pro mode: Shutter 2 to 10s, ISO 50 to 200 |
| Capture star trails (Astrolapse) | Go to More Modes > Select Astrolapse Set interval to 4s. |
| Shoot city at night | Use Street Photography mode for fast shutter (1/125s) and soft background blur |
| Control light manually | In Pro Mode: – Start at ISO 100, go up to 3200 in low light – Use 1/100s+ for motion, slower for light trails |
| Set white balance better | Use Custom Kelvin 4500K for golden hour; avoid Auto WB in mixed lighting |
| Focus and meter correctly | – Use Spot Metering on the subject – Use Manual Focus + magnifier for close-up shots |
| Edit RAW photos | Shoot in RAW (14-bit) for editing in Lightroom or Snapseed |
| Use bracketing for HDR | In Pro mode, take 3 shots at ±2 EV, then merge later for HDR |
| Try filters and styles | Use Vivid for sunsets, Black & White for portraits or dramatic shots |
| Shoot better videos | – Use 4K 60fps with Cinematic Bokeh, focus on eyes – Turn on 10-bit Log for pro color editing |
| Use slow motion | Record at 120fps (especially in telephoto) for smooth motion capture |
| Upgrade with Photography Kit | Buy the kit (grip + battery + shutter button). It adds 2300mAh extra power, supports 62mm filters |
| Edit like a pro | In built-in editor: – Exposure: +10% – Clarity: +15% – Vignette for depth In Snapseed – Shadow +20% to bring out telephoto details |
Final Thoughts
The Vivo X300 Pro is more than just a phone. It’s a legit DSLR camera in your pocket! You can use so many settings for different scenes to capture the best photos with this phone. If you have just started photography, it’s still a great choice because you have so many things to experiment with and learn. Let me know your favourite Vivo X300 Pro camera settings in the comments section below. I would love to hear your thoughts!
If you’ve just bought a new phone and don’t know what to do with your old phone, then here’s your answer. Sell old mobile to Cashify and get the best price for it. If you are planning to buy a new phone, check out Cashify’s refurbished mobile phones. You can get your favourite phone at almost half price with six-month warranty, 15 days refund and free delivery.