

UIDAI has made a great announcement recently, and now all Indians get a free, accessible option online to update their email addresses on their Aadhaar Cards. The Aadhaar card is the sole document you need in India and the most important ID proof. And now, with the email update policy, the privacy and accessibility of this ID card will get better. Hence, in this article, we bring you the complete guide on how to update email ID in Aadhar card easily through a simple, quick guide. So, let us begin.
Also Read: You Can Now Update Email ID On Aadhar Online For Free: Check How
Update Your Email IDs For Free: UIDAI Brings A Big Relief
The Unique Identification Authority of India (UIDAI) has introduced a major convenience for Aadhaar users by allowing them to update their registered email address directly through the official Aadhaar app. Starting July 1, 2026, this service is available free for six months, waiving the usual Rs. 75 fee for app users.
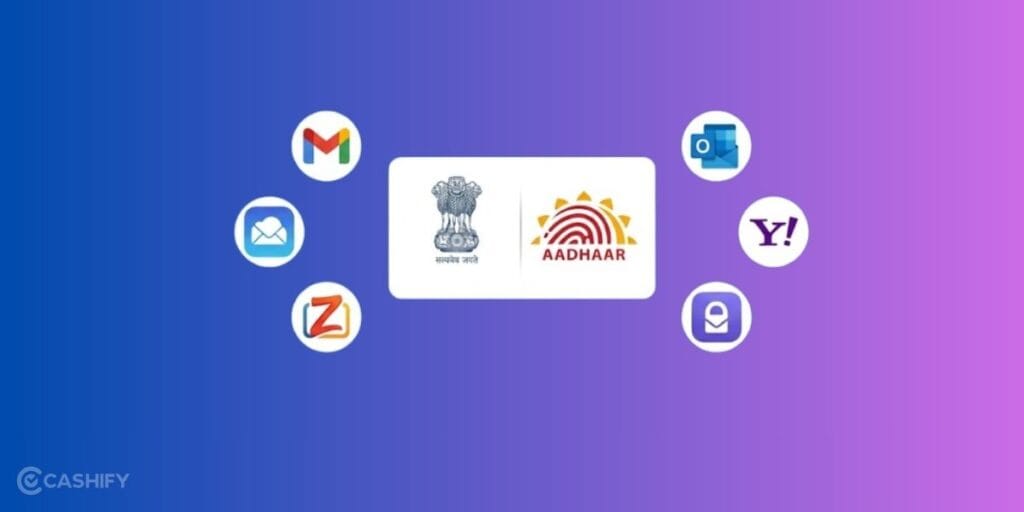
If you’re wondering how to update email ID in Aadhaar card, the entire process can now be completed online without visiting an Aadhaar enrolment centre.
To use the feature, download or update the official Aadhaar app on Android or iOS, log in, complete identity verification, select the Update Email option, enter your new email address, and submit the request. Knowing how to update email ID in Aadhaar card ensures you receive authentication alerts, improve account security, and stay informed about any Aadhaar-related activity.
Let us brief you more about this procedure in a detailed manner right here.
How To Update Your Email ID In Aadhaar Card
Step 1- The Initial Download
If you’re wondering how to update email ID in Aadhaar card, begin by downloading or updating the official Aadhaar app from the Google Play Store (Android 9.0+) or Apple App Store (iOS 16.0+).
Step 2- Screening
Open the app, choose your preferred language, enter the required details, verify your mobile number through the registered SIM, complete Face Authentication, and create a secure six-digit PIN.
Step 3- Dashboard
Sign in using the PIN and access your Aadhaar dashboard. Navigate to your profile and select the Update Email Address option from the available services.
Step 4- Enter Email ID
Enter the new email address you want to register carefully. Double-check for typing errors before proceeding to avoid verification issues later.
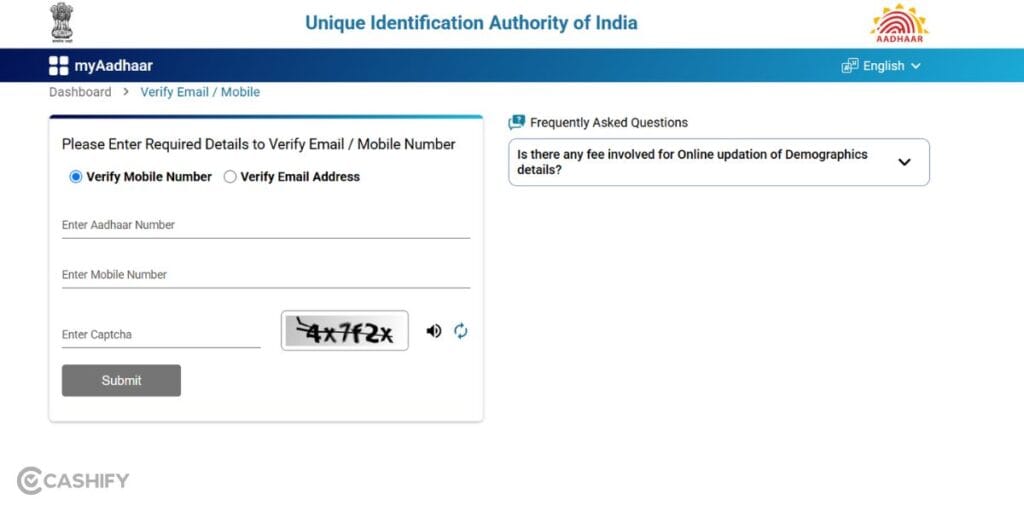
Step 5- Validate
To understand how to update email ID in Aadhaar card, verify your email using the OTP or validation link sent to your inbox.
Step 6- URN
Review all the entered details, submit your request, and note the generated Update Request Number (URN) or Service Request Number (SRN) for future tracking.
Step 7- Final Stage Of How To Update Email ID In Aadhaar Card
Once processed, your email address will be linked to Aadhaar. Knowing how to update email ID in Aadhaar card helps you receive authentication alerts and enhances account security with timely notifications.
Also Read: WhatsApp Username Feature Release Date And All Details!
Important Limitation
The zero-cost fee waiver applies strictly to updates submitted through the official mobile app interface until December 31, 2026. If you choose to update your contact information offline by walking into a physical Aadhaar Seva Kendra, it will be treated as a standard demographic update and subject to the physical centre processing fee of Rs. 50.
Why You Should Link Your Email to Your Aadhaar Card
- A Verified ID Source: You will be integrating a verified, active email address into the UIDAI database acts as a critical line of defence for your digital identity.
- Instant Security Alerts: You will receive real-time email notifications every single time an authentication request is made using your identity data.
- Unauthorised Access Control: Real-time alerts guarantee that you can immediately spot and counter any unauthorised usage attempts.
- Secondary Communications Channel: A verified email provides a reliable secondary gateway to receive critical One-Time Passwords (OTPs) and official direct benefit communications from various government departments.
- Mandatory Step Of Future: In future, the Indian government is going to put a mandate on this measure, so it is better that as a precautionary step, you update your email details right away!
In A Nutshell
That’s it from this guide on how to update email ID in Aadhaar card online for free. You will need no online expertise, and this method is super easy, and hence all of us can do it without any hassle. Moreover, since this is a government initiative, even if it is not mandatory, all of us should connect our email IDs and get this work done asap!
FAQs
How to update email ID in Aadhaar Card online?
Use the official Aadhaar app, verify your identity, enter your new email, and submit the request.
Is updating email ID in Aadhaar Card free?
Yes, app-based email updates are free until December 31, 2026, under the UIDAI fee waiver.
Why should I update my email ID in Aadhaar Card?
It enables authentication alerts, OTP delivery, and improves the security of your Aadhaar account.
Can I update my mail in Aadhaar Card without visiting a centre?
Yes, you can update it online through the official Aadhaar app.
What is required to update email ID in Aadhaar Card?
You need the Aadhaar app, a registered mobile number, face authentication, and your new email address.
How long does it take to update email ID in Aadhaar Card?
Processing time varies, but you can track the request using the generated URN or SRN.
Also Read: One UI 9.0 Beta 4 Release: Expected Date For Galaxy S26 Series
Are you still browsing through your broken screen? Don’t worry! Book at-home mobile phone screen repair with Cashify—an affordable and one-stop destination for all your mobile phone needs. In case you break your screen within 1 month of repair, we will replace your screen again—for FREE.